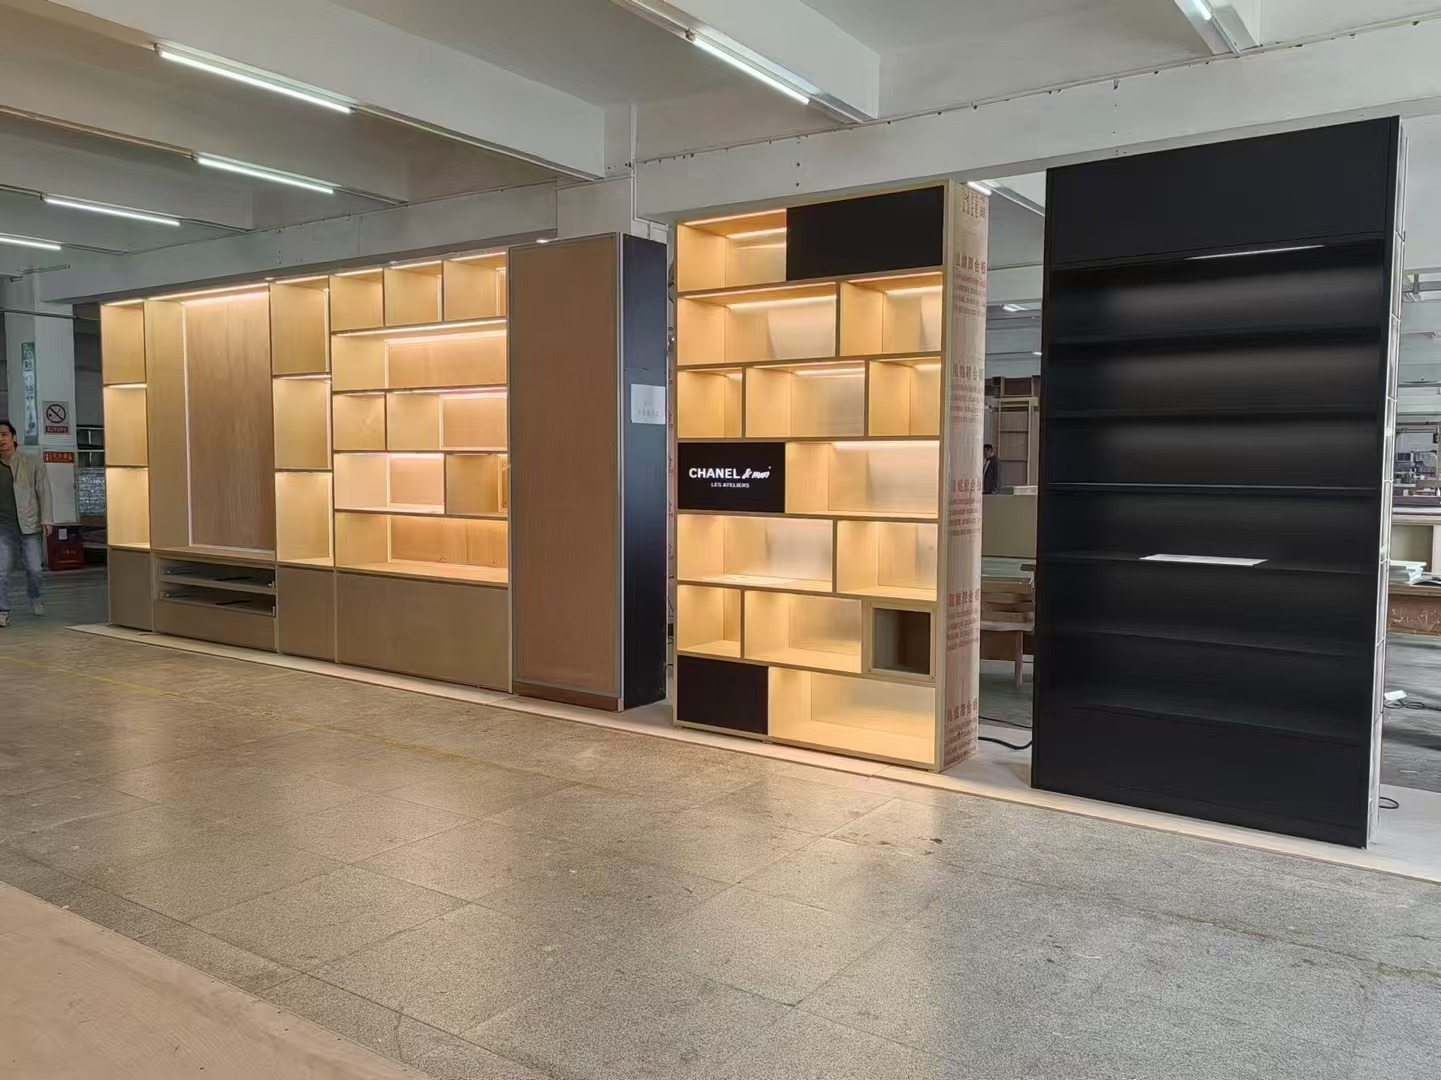
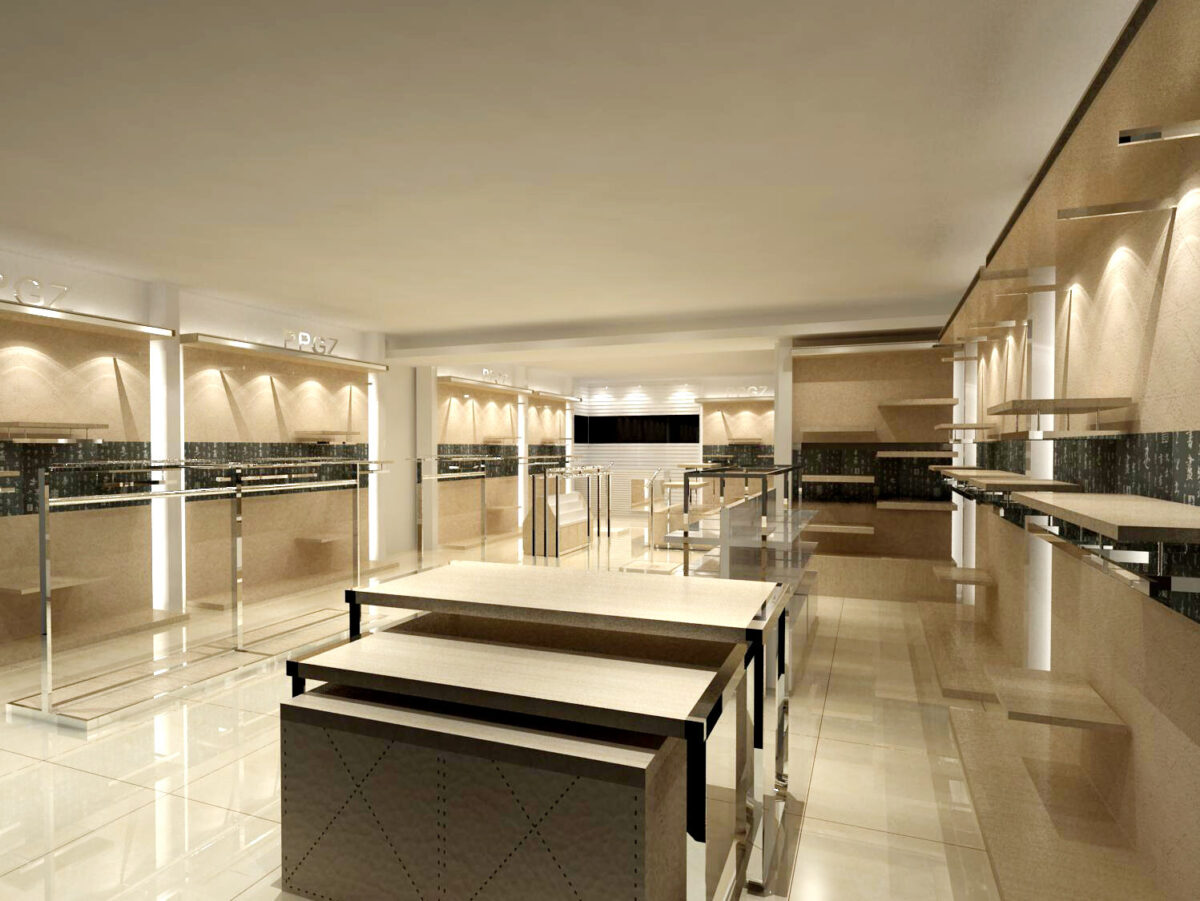
If you’re a retailer venturing into your first custom fixture project, the process may seem overwhelming at first. Custom fixtures, whether they’re display cases, shelving, or signage, play a vital role in creating the ideal store environment. They need to be functional, visually appealing, and aligned with your brand identity. Understanding the steps from design to production is crucial to ensure a smooth experience and a final product that meets your expectations.
1. Understanding Your Needs: The Initial Consultation
The first step in any custom fixture project is a thorough consultation between you and the fixture supplier. This is a collaborative process designed to understand your store’s requirements, aesthetic preferences, and functionality goals.
During this stage, be prepared to discuss:
- Store layout and measurements: Providing detailed dimensions of the space where the fixture will be placed is essential.
- Design inspirations: If you have ideas or reference images, share them with your supplier. These could be photos of fixtures you’ve seen elsewhere or sketches of what you envision.
- Functionality: Will the fixture be purely decorative, or does it need to display or store products? Knowing the purpose of the fixture will help guide the design.
- Budget and timeline: Being transparent about your budget and expected timeline allows the supplier to manage your expectations and provide solutions within your price range.
By the end of this consultation, you and the supplier should have a clear idea of what the project entails and whether it’s feasible within your budget and timeline.

2. Design Development: Turning Ideas Into Reality
Once the initial consultation is complete, the next step is design development. During this phase, the supplier’s design team will take your input and start creating the blueprint for your custom fixture.
Here’s what typically happens during the design stage:
- Concept sketches or 3D renderings: The designer will create visuals of the proposed fixture, either in the form of hand-drawn sketches or 3D computer renderings. These visuals give you a better idea of what the fixture will look like in your space.
- Material selection: You’ll work with the designer to choose the materials for your fixture. Whether it’s wood, metal, acrylic, or glass, each material has its advantages and cost considerations.
- Revisions and feedback: The design is rarely perfect on the first try, so expect to give feedback and request revisions. The goal is to refine the design until it matches your vision and functional needs.
- Final approval: Once you’re satisfied with the design, you’ll give the final approval. At this point, you should also confirm the budget and the timeline for production and delivery.
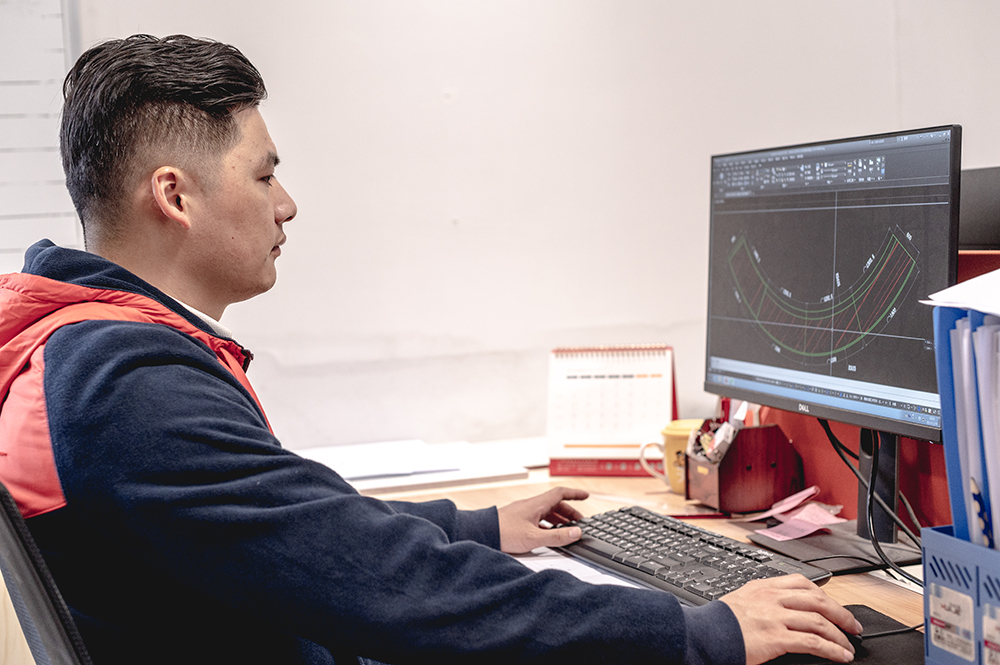
3. Engineering and Prototyping: Ensuring Practicality and Durability
After the design is approved, the project moves to the engineering stage. While the design focuses on aesthetics, the engineering phase ensures that the fixture can be built effectively and will be durable enough for retail use.
- Technical drawings: Detailed technical drawings are created by the engineering team, outlining the exact dimensions, materials, and construction methods.
- Prototyping: Depending on the complexity of the fixture, a prototype may be built before full production begins. This allows you to see and interact with the fixture in person and make any final adjustments before committing to mass production.
- Safety and functionality testing: Prototypes are often tested for durability, stability, and overall functionality. This is especially important if your fixture will hold heavy merchandise or be exposed to constant customer interaction.

4. Production: Bringing the Fixture to Life
Once the design is engineered and approved, production begins. This stage involves fabricating the fixture according to the approved plans, using the chosen materials and finishes.
- Material sourcing: The supplier will source the necessary materials, whether it’s wood, metal, or acrylic, depending on the fixture’s design.
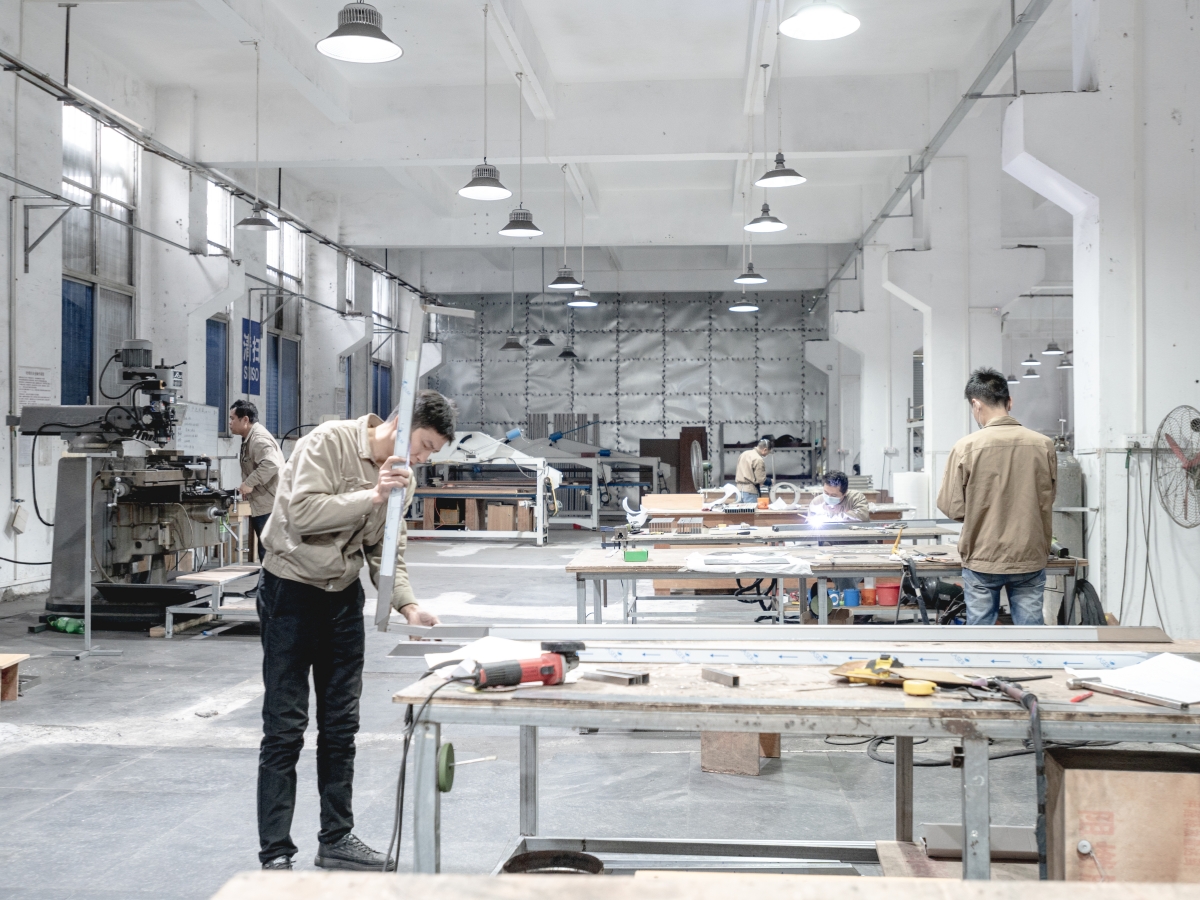
- Manufacturing: Skilled craftsmen or automated machinery will begin building the fixture. Depending on the complexity, this can involve processes like welding, CNC cutting, bending, or laser engraving.
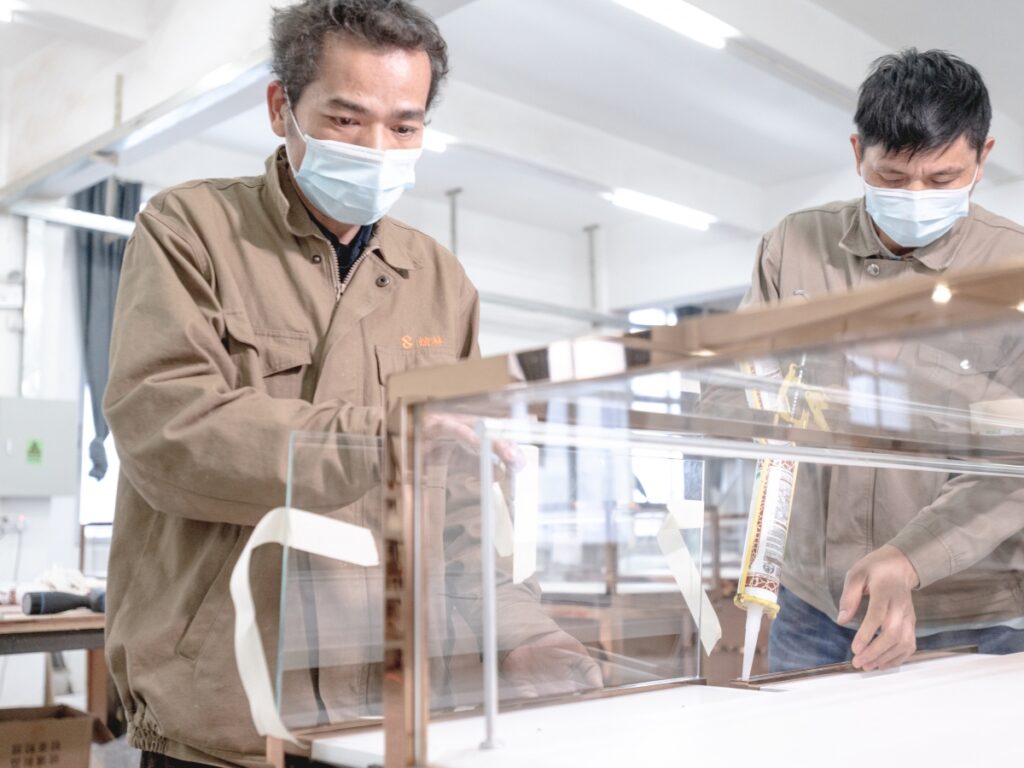
- Quality control: Throughout the production process, the supplier will perform quality checks to ensure the fixture meets the agreed-upon standards. Each element, from the fit and finish to the structural integrity, is closely monitored.
During this phase, it’s important to maintain open communication with your supplier. Production timelines can shift due to material delays or unforeseen manufacturing challenges, so staying updated helps avoid surprises.
5. Finishing and Customization: Adding the Final Touches
Once the fixture is fully built, it goes through the finishing phase. This is where the fixture is customized to meet your specific aesthetic preferences and brand identity.
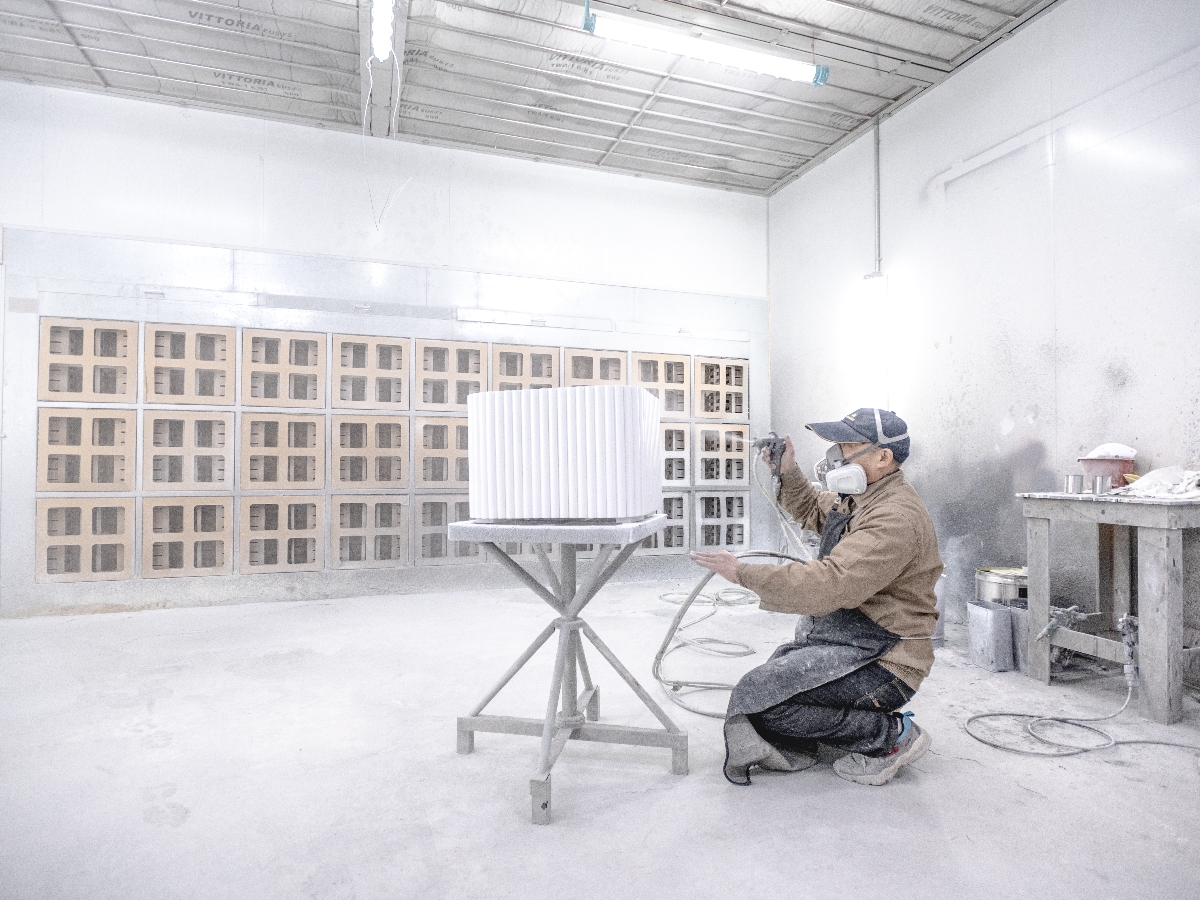
- Surface treatments: Finishes such as painting, powder coating, or varnishing are applied to give the fixture the desired look and durability. This could range from a sleek, high-gloss finish to a more rustic, matte texture.
- Branding elements: Custom fixtures can be enhanced with your brand’s logo, colors, or any other identifying features. Laser engraving, decals, or custom signage are common ways to personalize fixtures for brand recognition.
- Assembly: If your fixture is a large or multi-part structure, it may be partially assembled at the manufacturing facility before being shipped to your store for final installation.
6. Shipping and Delivery: Preparing for Installation
Once the fixture is completed, it’s time for shipping and delivery. The supplier will package the fixture carefully to prevent any damage during transit.
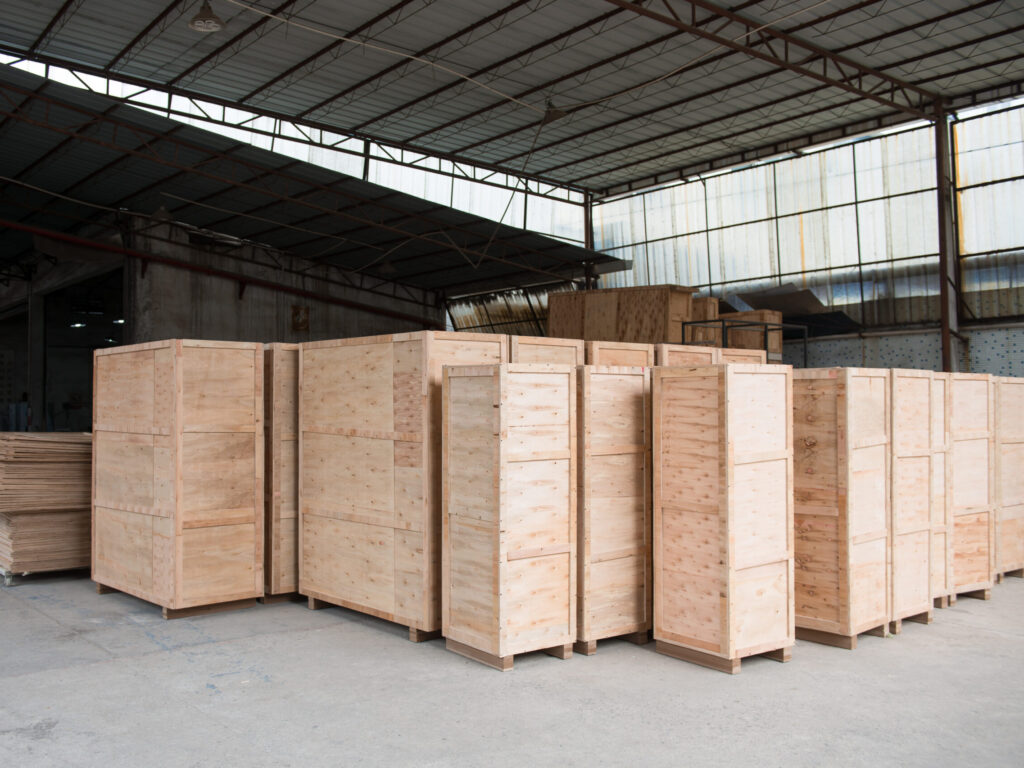
- Custom packaging: For large or oddly-shaped fixtures, suppliers often use custom packaging solutions like plywood crates or foam inserts to protect the fixture during transport.
- Shipping coordination: Depending on the size of the fixture and your store’s location, shipping may involve special arrangements. The supplier will work with shipping partners to ensure the fixture arrives safely and on time.
- Delivery timelines: It’s essential to coordinate the delivery date with your store’s schedule, especially if installation needs to happen during off-hours to avoid disrupting business operations.
7. Installation: Bringing It All Together
Once your custom fixture arrives, it’s time to install it in your store. Depending on the complexity of the fixture, installation can range from a simple setup to a more involved process that requires professional installers.
- Simple assembly: Many custom fixtures come with simple instructions for easy assembly. If the fixture is straightforward, your in-house team may be able to handle the installation themselves.
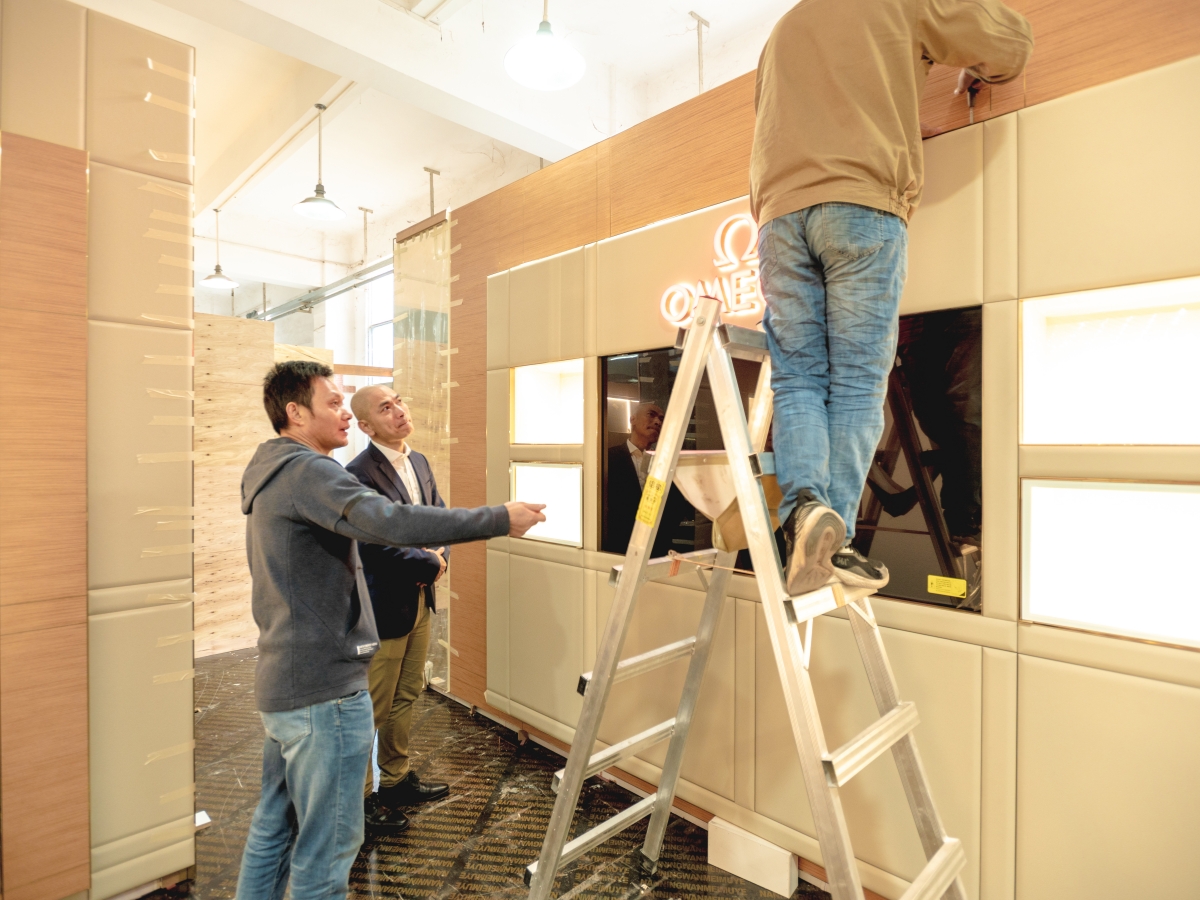
- Professional installation: For larger or more complex fixtures, professional installers may be necessary. The supplier may provide this service, or you may need to hire a third-party installation team.
- Placement and adjustments: After installation, you might need to make small adjustments to ensure the fixture is positioned correctly and is functioning as intended.
8. Post-Installation Support: What to Expect After Completion
Once your fixture is installed, the project doesn’t end there. Reputable suppliers will offer post-installation support to address any issues or concerns you may have.
- Maintenance tips: The supplier may provide guidance on how to care for and maintain your fixture to ensure longevity. This might include recommendations for cleaning products or best practices for wear and tear.
- Warranty and repairs: Be sure to ask about any warranties or repair services. If something goes wrong with your fixture after installation, having a warranty in place can save you from unexpected costs.
Conclusion
Embarking on a first-time custom fixture project can be both exciting and daunting. By understanding each step of the process—from the initial consultation to post-installation support—you can ensure that your project runs smoothly and meets your expectations. Custom fixtures not only elevate your store’s aesthetic but also offer practical, long-term benefits for your brand. With clear communication, careful planning, and a reliable supplier, your custom fixture project will become a key asset in enhancing your retail environment.


